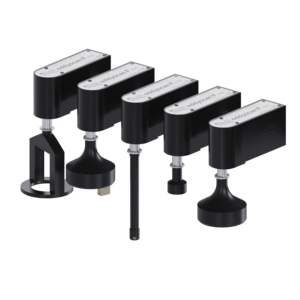
Harness High-Speed NDT Solutions for Precise Crack and Grinder Burn Detection: eddyscan H, C, F, F Mini Rotating Scanner
High-Speed Rotating Solutions for Eddy Current Crack Detection: The Power of Rotating Systems
The eddy current test method has established itself for years with 100% crack detection of cylindrical parts. The main reasons are reproducible and non-destructive results as well as a comparatively simple automation of the test. Rotating systems increases productivity tremendously.
Eddy current crack detection with differential probes requires a relative movement between the test part surface and the crack detection probe. When a crack, pore, or grinder burn spot passes the sensitive probe area the test instrument shows the related signal. In typical test systems, the test part is rotated in front of the probe while the crack detection probe scans the zone of interest. The main advantages of this approach are flexible use and rather simple mechanical effort.
Revolutionizing High-Speed Production: Advantages of Rotating Probe Solutions
But to deal with the output of high-speed production lines with a speed of up to 10 meters/min another approach is required: Rotating the probe whilst the test part just moves linearly along the line. This provides enormous advantages with regard to test time, but the testable part geometry is restricted as a result. Test machines with rotating solutions can keep up with production lines without any problems resp. exceed them as the probes can be turned with up to 8.000 rpm depending on the model.
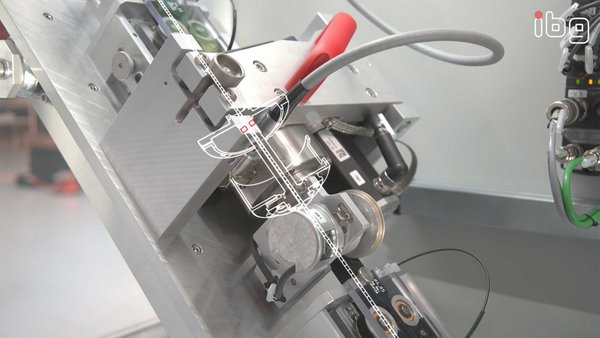
For these so-called rotating heads are applied. One or two probes are integrated into a rotating disk mounted onto a rotor. A rotational transformer, the heart of ibgs' scanner technology, transfers the undistorted signals from the probe to the crack test instrument.
Rotating heads are well suited for testing rotational-symmetrical and cylindrical pieces, like a string of bearing rollers, piston rods, pinion pins, and so on, whose outer diameters are scanned for surface defects. Cylinder liners are also an application (individual or in the motor block) and all other kinds of boreholes whose inner diameter must be tested for cracks.
Discover the Versatile eddyscan Rotating Head Family: Tailored for Precision in Automotive and Bearing Industry Applications
ibgs' rotating head family eddyscan has been developed specifically for demanding applications in the automotive components and bearing industry, where high-speed lines meet the requirement to detect even tiny surface defects.
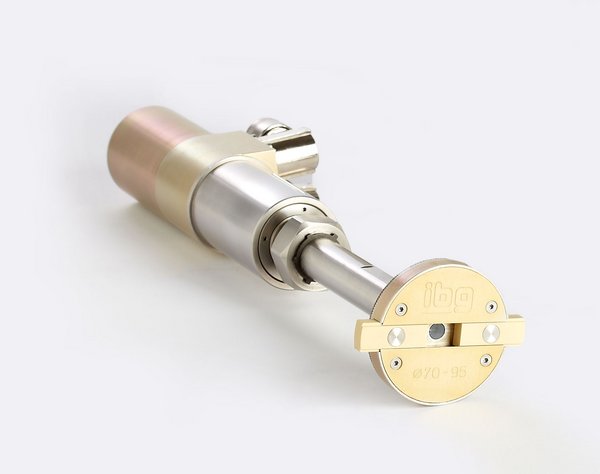
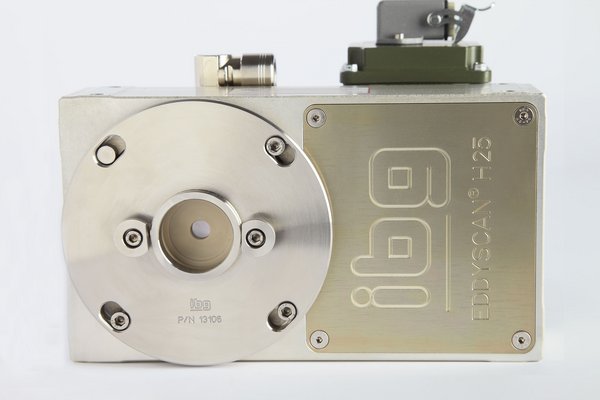
The eddyscan H for testing the outer diameter of cylindrical parts is available stepwise up to a part diameter of 70 mm (with external guidance of the part) as a two or four-channel version. Two-channel means two probes are integrated into one probe disk, which can follow a high throughput of parts. But it offers also a way to use probes with different characteristics at the same time.
The eddyscan C is a special version based on our eddyscan H for engine block testing. A self-centering crack detection probe disc scans cylinder liners for cracks and pores whereupon an X-Y-slide balances the dimensional and position tolerances of the cylinder boreholes.
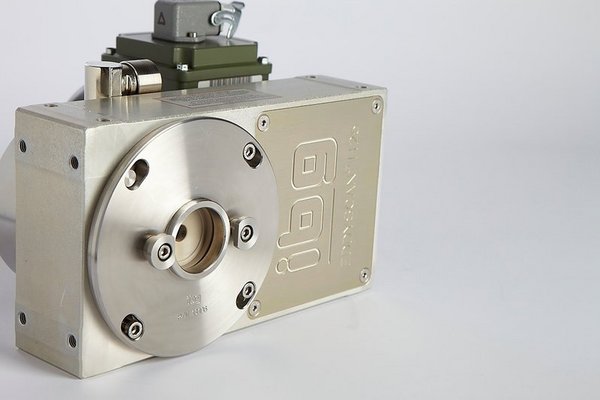
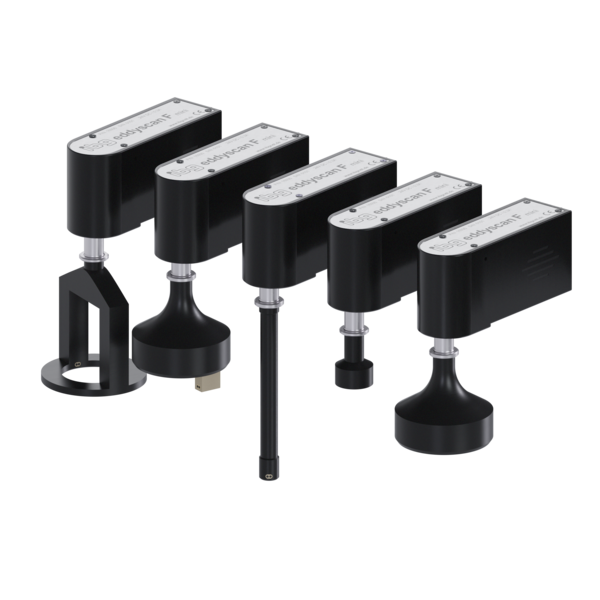
The eddyscan F is applied as a one or two-channel device for testing cylindrical inner diameters of boreholes, cylinder liners and bearing rings but also flat surfaces like steel strips or battery cell bottoms for cracks. Special designs may even test conical surfaces. The diameter range starts at approx. 3 mm with no limits upwards to 200 mm.
The eddyscan F Mini is a small, one-channel device for applications with little mounting space like fastener inspection machines. Due to its low weight, it can also be mounted directly on a robot, which then guides the scanner along the surface of the test piece.
Flexible and Adaptable Probe Disks for Optimal Test Equipment Performance – Technical Data
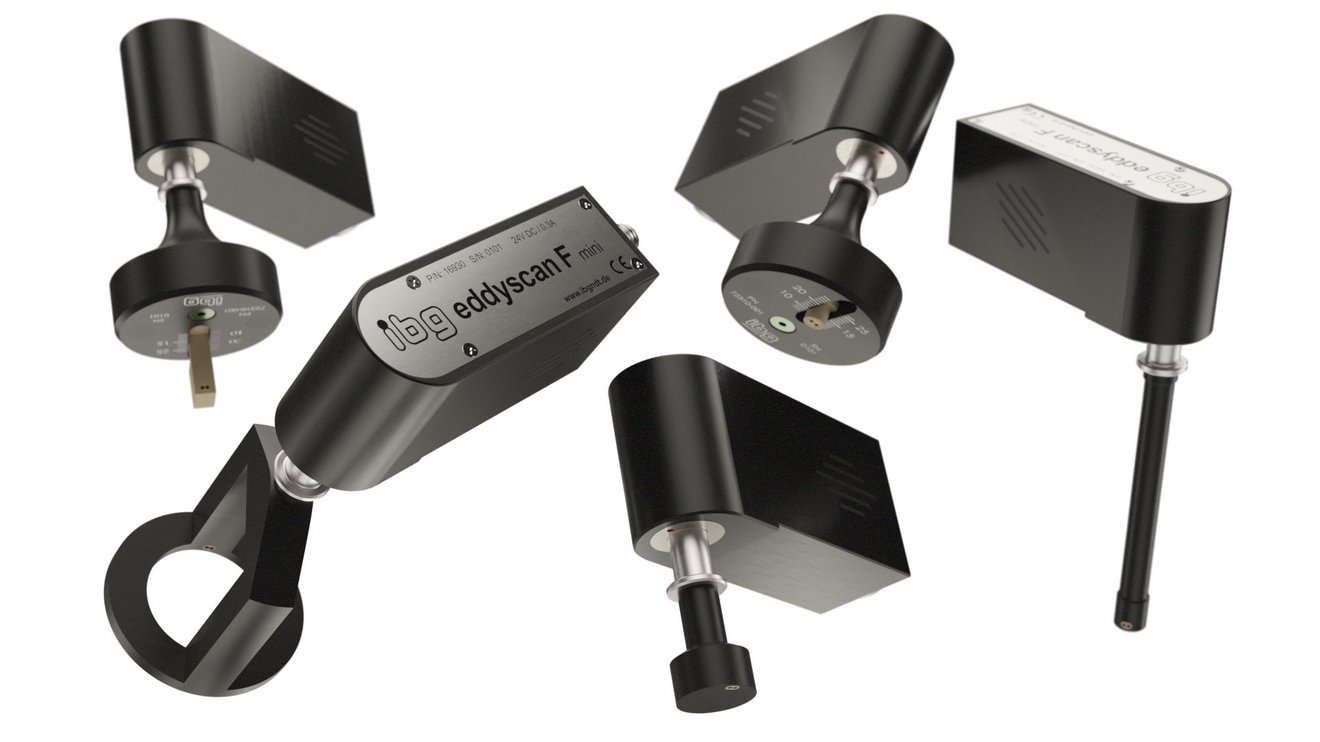
All rotating heads are equipped either with fixed probe disks or diameter adjustable disks. Most of the ibg crack detection probe types can be used in the probe disks so that the test equipment is always perfectly suited for the particular test task. In addition to our eddyscan H, the mini rotation scanner, we offer a height-adjustable maintenance slide enabling precise height adjustment of the rotating head for different part diameters. Furthermore, it allows to move of the rotating head to a maintenance position in order to be able to adjust or exchange the probe disk for another part diameter.
| H10 (H15) | H25 (H30) | H63 (H70) | |
|---|---|---|---|
| Part diameter max | 10 mm (15 mm) * | 25 mm (30 mm) * | 63 mm (70 mm) * |
| Number of probes | 2 | 2 | 2 or 4 |
| Rotation max. | 8.000 /min | 8.000 /min | 5.000 /min |
| Trigger pulse | 1 per rotation | 1 per rotation | 1 per rotation |
| Motor power | 90 W | 180 W | 370 W |
| Mains supply | 230/400 V 3-phase | 230/400 V 3-phase | 230/400 V 3-phase |
* with internal guidance (with external guidance)
| F50 | F Mini | |
|---|---|---|
| Part diameter max | 200 mm | 50 mm |
| Number of probes | 1 or 2 | 1 |
| Rotation max. | 6.000 /min | 3.000 /min |
| Trigger pulse | 1 per rotation | 1 per rotation |
| Motor power | 50 W | 5 W |
| Mains supply | 24 V (motor controller) | 24 V |
Contact Us

