Mastering Structure and Hardness Testing with ibg's Advanced Technology
Quality Assurance through Heat Treatment Verification
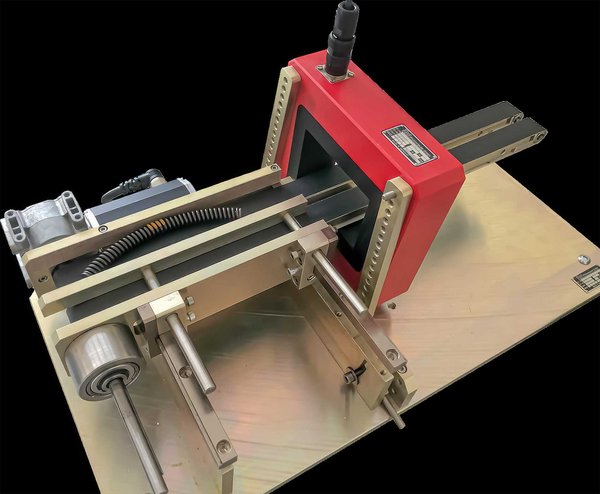
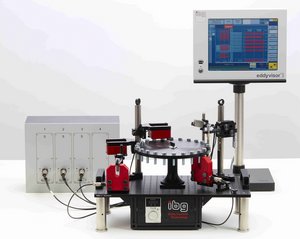
Verification of heat treatment results like correct case depth and hardness are of prime importance to meet quality standards of steel components. Especially safety-relevant parts like scews and bolts for automotive or aerospace applications. ibg’s family of digital eddy current test instruments is the leading solution for non-destructive testing of mass-produced parts, metal components, and semi-finished products for micro structure-based material properties such as hardness, case depth, material, tensile strength, heat treatment, or alloy.
Revolutionary Testing Innovations by ibg Instruments
ibg instruments distinguish themselves with ibg’s unique Preventive Multi-Frequency Technology (PMFT) and good part only concept. Furthermore, the Simultaneous Harmonic Analysis (iSHA) and the Temperature Adaptive Structure Test (iTAS) (optional), both unique ibg innovations, offer enhanced approaches for eddy current structure testing.
Classical sample or spot tests are helpful for statistically distributed defects, which typically relate to process problems. Parts production is monitored by hardness tester and destructive methods such as material cutting but comes with concurrent high personnel and financial effort. But during heat treatment processes in furnaces or induction hardening systems, accidents involving single parts can happen and that violate statistical distribution laws. These "unexpected" defects can be easily missed by sample or spot tests. If every single part has to be perfect 100% testing is a must to reliably detect them.
Innovative Technologies for Eddy Current Structure Testing
Eddy current structure test utilizing the ibg's Preventive Multi-Frequency Technology (PMFT) and Simultaneous Harmonic Analysis guarantees maximum test reliability in 100% testing. Heat treatment results can be monitored cost-efficiently, at high speed, and reliability, and even unexpected defects are detected with the highest sensitivity. The eight fundamental wave test frequencies as well as the analysis of two harmonics of the PMFT guarantee maximum results. The field of application for PMFT with simultaneous harmonic analysis is wide and includes eddy current testing of surface hardness, case depth, microstructure, material mix-up, and others.
ibg's Good Parts Only Concept: Efficient Instrument Calibration Process for the Structural and Hardness Testing Method
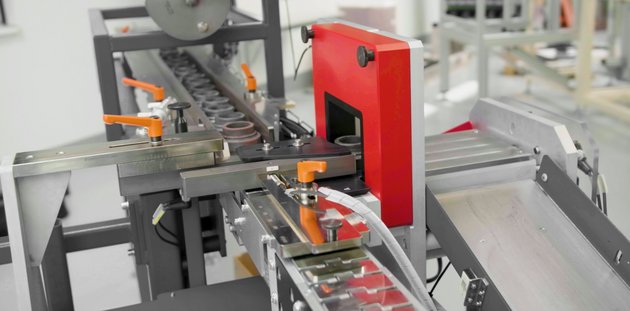
The Setting of the instrument is done with good parts only. Good parts are tested by the instrument in reference mode, and tolerance zones are formed automatically as a machine-learning function. After calibration eddy current signals from test parts are now compared with the original ones of good parts used for calibration. No defective parts are required for calibration, only known good parts. However, known defects are used to verify the calibration afterward and as master parts in automatic test systems.
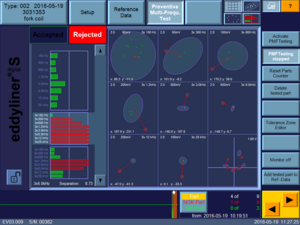
Due to the high test speed and the easy setup a new test task can be readily prepared within minutes. Another advantage of ibg eddy current test instruments is the multi-dimensional analysis. An individual tolerance zone is formed for each test frequency. If the test part stays within the limits of all tolerance zones, one can assume that the tested part is good as it behaves similarly to the calibration parts. Crossing the borderline of one single tolerance zone classifies the part as not good.
Eddy current tests are always comparative sorting tests with OK/NG answers. Even small deviations from the group of calibration parts can be detected. But an eddy current test can´t answer which kind of deviation is the root cause for an NG result. This requires further analysis of the microstructure by metallurgical methods (cut) or a classic hardness test.
Enhancing Testing Precision with iSHA and Harmonic Analysis
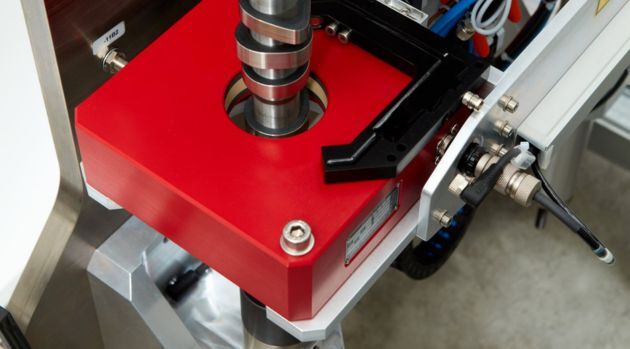
An essential innovation is ibg's Simultaneous Harmonic Analysis iSHA - combined with ibg's PMFT it guarantees the highest possible test reliability. It enables simultaneous calculation of vectors of the fundamental wave at eight frequencies and of two harmonics for each of them without extension of test time. It additionally uses high frequencies and their harmonics for a better resolution of even the smallest microstructure differences. Thus iSHA greatly enlarges the possibilities of the well-known Preventive Multi-Frequency Technology.
The relative permeability is strongly influenced by heat treatment processes. Hardened microstructures have a lower permeability than soft ones. Because the ibg Preventive Multi-Frequency Technology works with small magnetic fields, hardened OK parts show no saturation effects. Therefore, the test stays within the linear range of the hysteresis curve.
Harmonics occur by each hysteresis of the magnetization curve of a test part in the coil arrangement. The sinusoidal current in the exciter coil leads to a sinusoidal field strength which induces a magnetic flux in the test part. Its chronological sequence, however, is (depending on the formation of permeability) not sinusoidal anymore. Therefore, the sequence of the magnetic flux in the receiver coil induces a distorted voltage, deviating from the real sine even at small field strengths.
The fundamental waves, having been distorted by hysteresis, contain harmonics. Fourier analysis of the distorted fundamental waves reveals the higher frequency harmonics, more precisely harmonics of the 3, 5, 7, or 9 times frequency. The analysis of these harmonics provides a more detailed view of the magnetic features of the part and thus more exact information on the formation of microstructure. In addition, it offers significant advantages when suppressing interferences like batch variation, slight differences in part geometry, and part temperature or positioning effects. Harmonic signals are very small. That's why a sophisticated electronic effort is needed to distinguish them from the basic noise. Such small signals can be detected clearly and processed robustly by ibg's unique digital eddy current instrument family.
Precision Testing with Temperature Adaptation (iTAS)
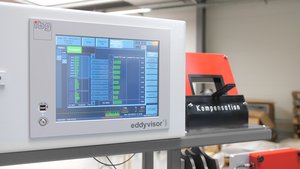
Eddy current testing is based on the electric conductivity and the magnetic permeability characterizing the material to be tested. Different materials and microstructures have different conductivities and permeabilities that are detectable by eddy current. However, both properties also show a temperature dependency. Electric conductivity decreases by 4 % per 10°C. Variations of ambient temperature are compensated by ibg using the differential coil principle. The test coil is compensated by a separate compensation coil giving a differential test. However, test parts are often heated up by production processes and cool down during pauses of production. Thus they have different temperatures when tested. This leads to an erroneous NG sorting.
ibg's Temperature Adaptive Structure Test (iTAS) considers the influence of temperature fluctuation on the measuring values. If the temperature of the test parts can be captured by an external sensor that is directly connected to the eddyvisor, the influence of the temperature can almost be entirely compensated. Test parts appear as if tested at the same temperature. Pseudo reject is reduced and the test is more precise. iTAS also enables quick visualization of how big part temperature influence is in comparison with other parameter fluctuations (batch and dimension differences etc.) for a specific test application.
Essential features of the ibg instruments for Precise Structure and Hardness Testing Method
Built-in Automation
- Direct control of sorting devices, paint marking systems, and indicating lamps
- Integrated 24 V DC (2.5 A) power supply for cost-effective automation
Remote Accessibility
- Remote operation from any network computer via VNC viewer software
Secure Access
- Multilevel access authorization with pin code or key switch
User-Friendly Help
- Context-sensitive help function on the device screen
Multi-Language Support
- Languages include German, English, Spanish, French, Italian, Czech, Polish, Portuguese, Chinese, Hungarian, Japanese, Korean, Russian, and more upon request.
Diverse Coil Options
- Various encircling coils up to 500 mm in diameter
- Custom-designed coils for special applications
- Flexible coil configurations
Monitoring and Noise Suppression
- Detection of coil and cable failure
- 50/60 Hz noise suppression
Material Sorting and Classification
- Sorting of different materials and mixed batches
- Up to seven trainable part types with varying characteristics
Tube and Bar Testing (eddyvisor only - option)
- Inline testing for material, heat treatment, case depth, and microstructure
- Statistical evaluation of test results along the part length
- Adjustable threshold for eliminating irrelevant variations
Versatile Display
- Test results displayed as bar graph, single ellipse, or multiple ellipses
Detailed History Tracking
- Multi-colored histogram for visualizing reference data
- Stores results for up to 1,000 good parts and 100 bad parts
- Easy addition of questionable parts to reference data
Efficient Data Storage and Export
- Internal storage of test results, part types, and settings
- Export via USB drive or Ethernet connection
- Ring buffer logfile for fast service debugging
Rapid Testing
- High-speed testing within milliseconds
- 1 ms per test frequency (> 5 kHz) for dynamic testing
- Cycle rate of up to 40 parts/sec (model-dependent)
Flexible Test Start Options
- Manual start via touchscreen
- PLC control or optional start button
- Autostart function for immediate or delayed activation
Tolerance Zones and Customization
- Automatic generation of elliptical tolerance zones
- Integrated tolerance zone editor for zones in rectangular or elliptical form for free definition
Selectable Test Frequencies
- Eight frequency options ranging from 5 Hz to 3 MHz
iSHA Harmonics Analysis
- Simultaneous evaluation of two harmonics for each test frequency
- No increase in test time
Contact Us


